1. Understanding Shower Screen Door Options
When it comes to bathroom design, the choice of a shower screen door can significantly impact both aesthetics and functionality. The right shower screen door enhances the space while providing privacy and water protection. This comprehensive guide will walk you through various options, materials, and aesthetic considerations to help you make informed decisions.
1.1 Types of Shower Screen Doors
Understanding the different types of shower screen doors is essential for creating a seamless bathroom experience. Here are the most common styles:
- Sliding Doors: Ideal for smaller spaces, sliding doors glide on tracks and save space, allowing for easy access without swinging into the bathroom area.
- Bi-fold Doors: These fold inwards, similar to bi-folding patio doors. They offer a wider entry and are great for flexible bathroom layouts.
- Hinged Doors: Hinged or pivot doors swing open from a fixed side, typically suited for larger spaces and offer a classic look.
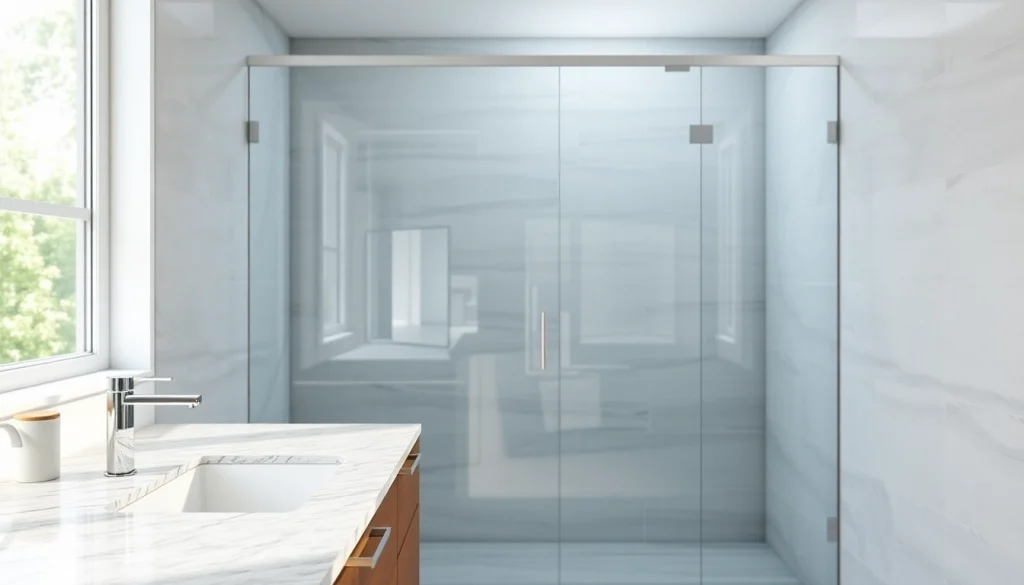
- Frameless Doors: These minimalistic doors give an open and airy feel, as they lack bulky frames and often use thicker glass for stability.
- Quarter-fold Doors: These innovative designs compactly fold inwards towards a wall, saving maximum space while providing a stylish entryway.
1.2 Materials and Their Benefits
The material you choose for your shower screen door will dictate not only its aesthetic but also its durability and maintenance needs. Here are some popular materials:
- Tempered Glass: This safety glass is stronger than standard glass and can withstand temperature changes. It is also designed to shatter into small pieces rather than sharp shards, ensuring safety.
- Acrylic: Lighter and more affordable than glass, acrylic is a popular choice for budget-friendly designs. It is less prone to shatter but may scratch more easily.
- Polycarbonate: This material is extremely durable and resistant to impact. While often used in high-traffic areas, it is less clear than glass but more flexible in design.
- Aluminium Frames: Aluminium is a common choice for framed doors as it is lightweight, corrosion-resistant, and can withstand daily wear without losing its integrity.
1.3 Aesthetic Considerations for Your Bathroom
The aesthetic impact of a shower screen door extends beyond its functional purpose. Consider these factors when choosing:
- Style: The design of the door should complement the overall theme of your bathroom—whether it’s modern, traditional, or eclectic.
- Color: Clear glass offers an illusion of space, while frosted or tinted glass can add privacy and a unique feel.
- Hardware: The choice of handles, hinges, and tracks can enhance or detract from the look. Sleek options can conform to a modern aesthetic, while vintage fixtures can add charm.
2. Measuring for Your Shower Screen Door
Successful installation of a shower screen door starts with accurate measurements. Mistakes here can lead to costly adjustments or subpar performance. Here’s how to do it right.
2.1 Key Measurements to Consider
A few critical measurements are essential. Take note of the following:
- Height: Measure from the base of the shower tray to the top of the wall or ceiling. Standard heights often range from 1900mm to 2100mm.
- Width: Measure at the opening where the door will be installed. Ensure the measurement accounts for any wall imperfections.
- Depth: Determine the depth of your shower area, especially if planning for sliding doors that require extra space to move.
2.2 Common Installation Mistakes to Avoid
To avoid complications during installation, steer clear of these common mistakes:
- Not double-checking measurements can lead to ill-fitting doors.
- Failing to account for wall irregularities can cause misalignments.
- Overlooking drainage slopes can lead to water pooling.
2.3 Tools Needed for Accurate Measurement
To measure accurately, you will need:
- A tape measure for precise measurements.
- A level to ensure your doors are evenly mounted.
- A pencil for marking measurements directly on the walls.
- A notepad for recording all your measurements to avoid confusion.
3. Installation Guide for Your Shower Screen Door
Installing a shower screen door can seem daunting, but with the right approach, you can achieve a professional finish. Follow these steps for a successful installation.
3.1 Preparing Your Bathroom Space
Before attempting installation, clear the area of any furniture and debris. Ensure the shower area is clean and dry, and gather all necessary tools and materials like screws, anchors, silicone sealant, and the manufacturer’s installation diagram.
3.2 Step-by-Step Installation Process
- Mark the Placement: Use your measurements to mark where the hinges and tracks will be placed.
- Drill Holes: Drill holes into the walls and install wall anchors—ensure these are straight and correctly aligned.
- Attach the Track: Securely fasten the track to the wall using screws and anchors, ensuring it is level.
- Install the Door: Depending on the type, attach your door to the track or hinges as directed by the manufacturer.
- Seal Gaps: To prevent leaks, apply silicone sealant around the edges where the door meets the wall and floor.
3.3 Safety Tips for Installation
Safety should be a priority during installation. Remember to:
- Wear safety goggles to protect your eyes from glass shards.
- Use gloves when handling glass to avoid cuts.
- Ensure that another person is available to help lift heavier doors to avoid injury.
4. Maintaining Your Shower Screen Door
Maintaining your shower screen door ensures long-term functionality and clarity. Here are some maintenance tips.
4.1 Cleaning Techniques for Optimal Clarity
To keep your shower screen door crystal clear:
- Use a mixture of vinegar and water to clean glass doors, as it effectively tackles soap scum and mineral deposits.
- A microfiber cloth is ideal for wiping down surfaces, as it captures dust without scratching.
- A squeegee can help prevent water spots after each shower, making maintenance even easier.
4.2 Preventing Mold and Mildew
To prevent issues with mold and mildew:
- Ensure proper ventilation by using an exhaust fan during and after showers.
- Regularly check and replace any damaged seals or caulking to avoid moisture accumulation.
- Keep the area dry by wiping down surfaces after each use.
4.3 Regular Maintenance Checks
Set a schedule for periodic checks of your shower screen door. Look for:
- Any wear or damage to the seals and hinges.
- Signs of water leaks that might indicate installation or product failure.
- Clarity of the glass to maintain visual appeal.
5. Frequently Asked Questions about Shower Screen Doors
5.1 What are the advantages of a shower screen door?
A shower screen door provides better water retention compared to shower curtains, enhances bathroom aesthetics, offers a modern look, and usually requires less maintenance.
5.2 How do I clean a glass shower screen door?
Clean with a vinegar-water solution, use a microfiber cloth for wiping, and employ a squeegee to prevent hard water stains after each use.
5.3 Can I install a shower screen door myself?
Yes, DIY installation is possible with the right tools and careful measurements. However, ensure to follow the manufacturer’s instructions for best results.
5.4 What size shower screen door do I need?
The size depends on your shower’s dimensions; measure the width and height of the entry, accounting for wall imperfections.
5.5 Are shower screen doors suitable for small bathrooms?
Yes, certain designs like sliding or bi-fold doors are excellent for small bathrooms as they maximize space efficiency while providing functionality.